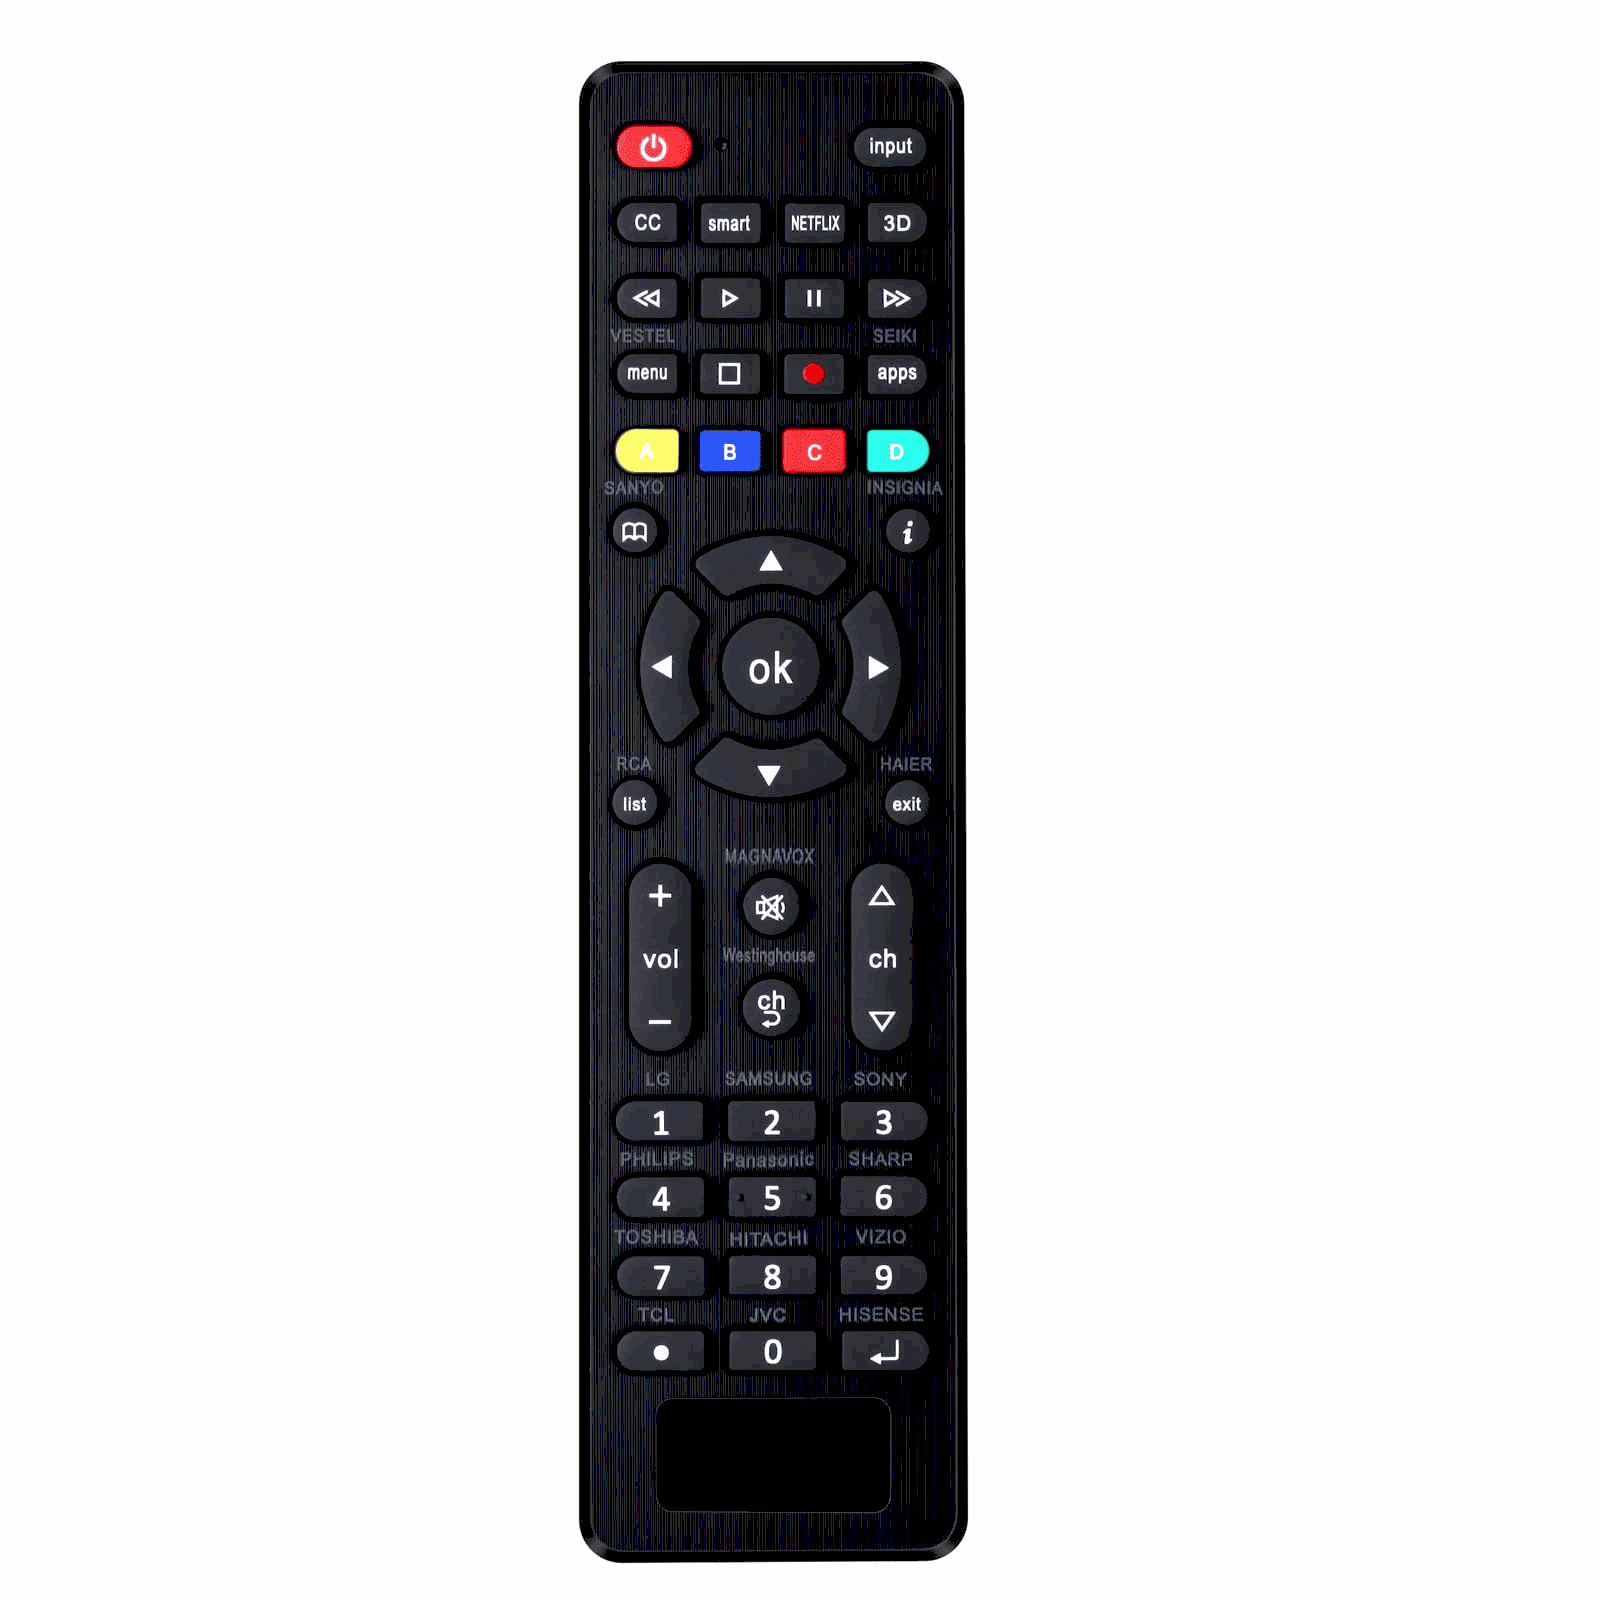
A universal remote simplifies controlling multiple devices. Setting it up involves identifying device codes, entering them, and testing functionality. Common issues include incorrect codes or interference. Expert tips include using the learning function and ensuring a clear line of sight. Regular maintenance and firmware updates can enhance performance.
Mastering Your Universal Remote: A Complete Guide
How to reprogram a universal remote? This question often pops up when dealing with multiple devices. Universal remotes can simplify life by replacing several remotes with just one. Imagine having a single remote control for your TV, DVD player, and sound system. Sounds like a dream, right? But before you get there, understanding the basics of how to reprogram a universal remote is crucial.
Universal remotes come with the ability to be programmed for different devices. This makes them a versatile choice for anyone tired of juggling multiple remotes. However, to fully utilize a universal remote, one must learn how to configure it for each specific device. This guide will walk you through the process step by step, making it easier for you to manage your electronic devices with a single remote.
Why do you need a universal remote? It’s all about convenience. Instead of having a different remote for each device, a universal remote can control them all, reducing clutter and confusion. This guide aims to provide you with the knowledge needed to make the most out of your universal remote, including troubleshooting tips and expert advice.
Reprogramming Basics: Setting the Foundation
Understanding how to reprogram a universal remote is akin to laying the foundation of a house. Without it, everything else falls apart. Before diving into the specifics, it’s essential to grasp the basics of reprogramming. The process might seem daunting at first, but with a clear understanding, it becomes straightforward.
To reprogram a universal remote, you must first identify the make and model of both the remote and the device you wish to control. This information is often found on the device or in the user manual. Once you have this, you can look up the specific code required for programming. These codes are typically provided by the manufacturer and are necessary for the remote to communicate with the device.
The next step involves entering the code into the remote. This usually involves holding down a specific button on the remote while entering the code. If done correctly, the remote should be able to control the device. Remember, each device might have a different code, so it’s crucial to have the correct one.
Step-by-Step Guide to Reprogramming Your Universal Remote
Here’s a detailed guide on how to reprogram a universal remote:
- Identify Your Devices: Know the make and model of your TV or other devices.
- Find the Codes: Use the remote’s manual or the manufacturer’s website to locate the necessary codes.
- Enter Setup Mode: Press and hold the setup button on your remote until the LED indicator lights up.
- Enter the Code: Use the number keys on the remote to enter the specific code for your device.
- Test the Remote: Try turning the device on or off to ensure the remote is working correctly.
- Repeat for Other Devices: If you have more devices, repeat the process for each one.
If the remote doesn’t work after entering the code, check if you’ve used the correct code. Sometimes, it might take a few tries with different codes to get it right. Patience is key.
Connecting Your Universal Remote to Your TV
How to hook a universal remote to a TV can feel like trying to solve a Rubik’s cube for the first time. Don’t worry; it’s simpler than it seems. A universal remote simplifies your entertainment setup, but connecting it to your TV is the first hurdle. Let’s jump in.
First, ensure your remote has fresh batteries. It sounds trivial, but dead batteries are a common hiccup. Once powered, you’ll need to enter the setup mode. Most remotes have a ‘setup’ or ‘program’ button. Hold it until an LED light signals readiness.
- Find the TV Code: The code is the secret handshake between your remote and TV. Check the manual or the manufacturer’s website for this code.
- Enter the Code: Use the remote’s number pad. The LED should blink to confirm each entry.
- Test the Connection: Try powering your TV on and off. If it works, congrats! If not, repeat the steps with a different code.
Patience is key. Sometimes it takes a few attempts to find the right code, especially with older TVs.
Troubleshooting Common Connection Issues
Encountering issues while connecting? You’re not alone. Universal remotes are handy, but they can be finicky. Here’s how to troubleshoot common hiccups.
Remote Doesn’t Respond: This can often be traced back to battery issues. Check if the batteries are inserted correctly and have enough charge.
Incorrect Code: If the remote doesn’t control the TV, you might have used the wrong code. Double-check the list and try another one.
Interference: Electronic devices can cause interference. Ensure there’s a clear line of sight between the remote and the TV sensor.
- Reset the Remote: Sometimes a reset can work wonders. Remove the batteries and press every button twice. Reinsert batteries and try again.
- Update the Remote: Some remotes allow for firmware updates. Check if yours does and ensure it’s up to date.
Don’t let frustration win. Take a break if needed, then return with fresh eyes.
Advanced Tips for Hooking Up Your Remote
Ready to dive deeper? Connecting your universal remote to your TV can be straightforward, but a few expert tips can make the process smoother.
Sometimes, the simplest tweaks make the biggest difference. For instance, make sure your remote is pointed directly at the TV sensor. It sounds basic, but can often be overlooked.
- Program for Multiple Devices: If your remote can handle multiple devices, program them all at once. This saves time and ensures seamless operation.
- Use the Learning Function: Some remotes can learn from the original remote. Place them head-to-head and follow the manual’s instructions.
- Label the Buttons: If your remote supports it, label buttons for specific devices. This prevents confusion during operation.
These advanced tips not only enhance functionality but also make the universal remote an even more integral part of your entertainment setup.
Detailed Guide for Universal Remote Setup
Setting up your universal remote can be like assembling a puzzle, where each piece fits perfectly to give you seamless control over your devices. To start, ensure your remote is compatible with your TV and other devices. This information is usually available in the remote’s manual or on the manufacturer’s website.
First, insert fresh batteries into the remote. It’s a simple yet often overlooked step. Next, enter the setup mode by pressing the ‘setup’ button until the LED light blinks. This indicates that your remote is ready to be programmed.
- Code Search: Use the remote’s code search feature if available. This allows the remote to automatically scan for the correct code.
- Manual Code Entry: If the code search fails, manually enter the code using the remote’s keypad. Refer to the device code list in the manual.
- Test the Remote: Once a code is entered, test the remote by trying to turn on or adjust the volume of the device.
Repeat these steps for each device you want to control. If you encounter issues, recheck the codes and the battery placement. This detailed guide should simplify the setup process, reducing potential headaches.
Expert Tips for Reprogramming Universal Remotes
Reprogramming a universal remote doesn’t have to be daunting. Experts suggest starting with the simplest method: using the code search function. This feature can save time and avoid the need for manual code entry.
Another tip is to keep your original remotes handy. They can serve as a reference for specific features that the universal remote might not automatically support. Some advanced remotes even allow learning capabilities from original remotes, making the transition smoother.
- Environment Check: Ensure no objects are obstructing the line of sight between the remote and the device.
- Firmware Updates: Check if your remote supports updates. Keeping it updated ensures compatibility with newer devices.
- Labeling: Use labels for different devices on the remote. This helps in quickly identifying and switching between devices.
Experts recommend patience and persistence. If the first few attempts don’t work, take a break and revisit the process with a fresh perspective.
Comprehensive Guide to Universal Remote Programming
Programming a universal remote might seem like deciphering a secret code, but with a systematic approach, it becomes manageable. The key is to follow a structured guide like this one, which breaks down the process into digestible steps.
Begin by identifying the device codes. These are crucial for establishing communication between your remote and devices. Once identified, proceed with the code entry process, as detailed earlier. If manual entry fails, utilize the code search function.
- Regular Maintenance: Clean the remote regularly to ensure the buttons function correctly.
- Test After Programming: Always test the remote after programming to confirm its working condition.
- Seek Support: If persistent issues occur, consult the manufacturer’s support for guidance.
This comprehensive guide should serve as your go-to resource for programming and troubleshooting universal remotes, ensuring your home entertainment remains streamlined and efficient.


